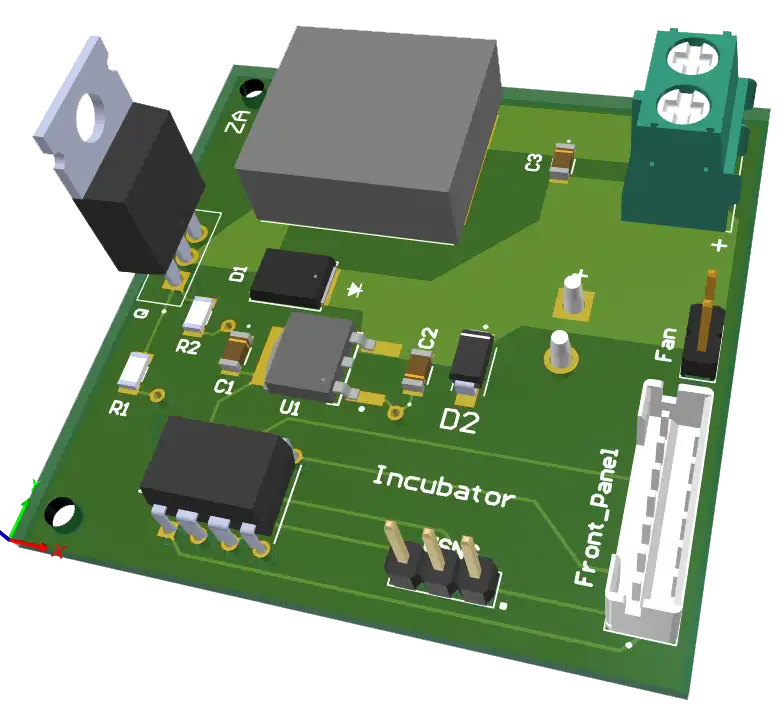
Being Bird-Brained
According to my parents, “we live waaaay behind God’s back,” and living so rurally, decided that they wanted to raise some chickens and ducks. They even built a coop with a fenced yard for the fowl to run around in! That’s more than some people get and it’s admittedly nice to see our feathered friends roam about peacefully.
My parents have also found (and I say this facetiously) a “life-hack”: why buy chickens and ducks when you can just hatch and raise them yourself? This new venture opened up to them after receiving a styrofoam incubator box from a neighbour, but the electronics were about 50 years old and didn’t work.
Life often rhymes, and something they also had on hand was a not 50 year old son who also didn’t work 😬. But hey, I have an EE degree so take that styrofoam box.
Regardless, I had to show that the money spent on that degree was worth something so might as well slap some bells and whistles on that thang.
And like many “thangs” in life, it’s about the friends we make what we learn along the way.
The Thangs
So, which came first? The chicken or the egg? Wrong, the plan came first. And there ain’t no Plan B because creating baby birds is the point.
Off-kilter jokes aside, if I want create a fancy incubator, I need a plan. And planning requires understanding what’s needed first! So what does it take to hatch chickens and ducks?
Hatching Chickens
- Approx. 21 days to hatch, with 18 days being incubation and 3 days being lockdown
- A constant, even temperature of 37.5 °C (~100 °F)
- A relative humidity of 35% - 55% during incubation
- A relative humidity of 60% - 80% during lockdown
- The eggs must be on either their side or have their tips pointing down (so that the air sacs point up)
- The eggs must be turned every 4 - 6 hours
Hatching Ducks
- Approx. 28 - 35 days to hatch, depending on the breed. 3 days at the end being lockdown.
- A constant, even temperature of 37.5 °C (~100 °F)
- A relative humidity of 50% - 60% during incubation
- A relative humidity of 70% - 80% during lockdown
- The eggs must be on either their side or have their tips pointing down (so that the air sacs point up)
- The eggs must be turned every 4 - 6 hours
Hashing out what “lockdown” is
In nature, during the incubation period, the mama bird will mostly sit on her eggs but will occasionally get up to eat, drink, and do bird business. But during the last few days before hatching, she will “lockdown” and will sit on her eggs and not move until they have hatched.
For us, this translates to mean that during the incubation period, we can open the incubator, check on the development of the eggs, add water to maintain humidity, and do whatever else that is needed. But during the last few days before hatching (lockdown) we add water to increase the humidity and close the incubator until the eggs have hatched.
Hatching a Plan
If the given conditions are satisfied for our Big-Endian baby bird buddies, then the chance of a successful hatch is greatly increased! But how will these conditions be fulfilled?
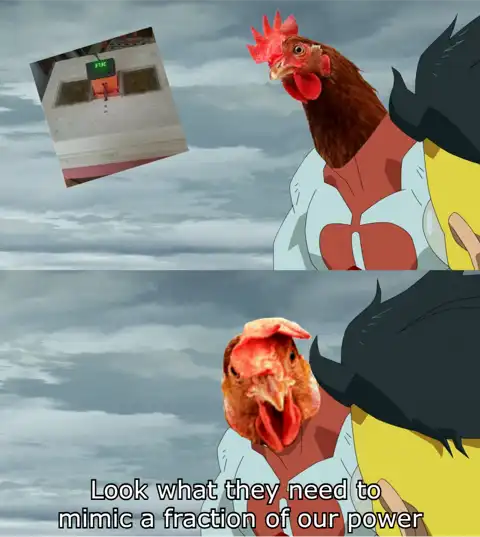
Yes, that's the actual finished incubator. Yes, I put a lot of effort into this meme.
There’s inexpensive automatic egg turners, which takes care of the eggs needing to be turned every 4 - 6 hours, as well as the orientation. This just leaves the temperature and humidity.
Given the range of humidity allowed and that we’ll be only hatching a few chicks (less than ~10), there isn’t a need for an electronic solution to control the humidity. Instead, the humidity should be monitored and manually adjusted. This is done by adding water to the incubator and by opening and closing air outlets.
What needs to be monitored more closely is the temperature, which should be maintained as close to nominal as possible. If the temperature rises even a few degrees above nominal for a few hours, it may result in failed development or birth defects in hatchlings. Going below nominal is alright for a bit, but should be minimized. This is why I decided to use a PID controller to maintain the temperature, which is sole bell and whistle for this project. I guess that’s an “oops” on the degree thang…
P.S.
The rest of the posts in this series will cover how I went about the electronic humidity and temperature monitoring, as well as designing the PID controller (it’s actually just a PI controller, but the name isn’t as recognizable if I say that).