Chicken Scratchpad
So, the last post was a grand overview of what I wanted, but it wasn’t really a plan. A plan needs details! A roadmap! A cute baby bird!

A cute baby bird, check ✔️. Hatched from this project!
Criteria
The first thing I usually do is figure out the physical criteria that is needed to accomplish the project goals. I need at the minimimum
- an enclosure (the incubator box)
- a sensor to measure the temperature and humidity of the enclosure
- a screen to display the temperature and humidity
- a heater to warm the enclosure
I figured it would also be nice to include
- a fan to spread the heat and humidity around more evenly
- a method to manually set the desired temperature, just in case something other than ducks and chickens are to be hatched
General Plan
From the above criteria, I came up with this general plan
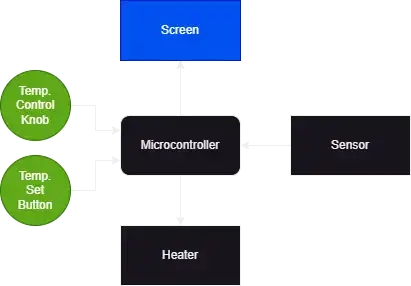
Yeah, it’s not much to look at, but it has almost everything! A microcontroller takes care of all the logic and will output signals to the screen and heater, and take inputs from a temperature control knob and button, as well as the sensor.
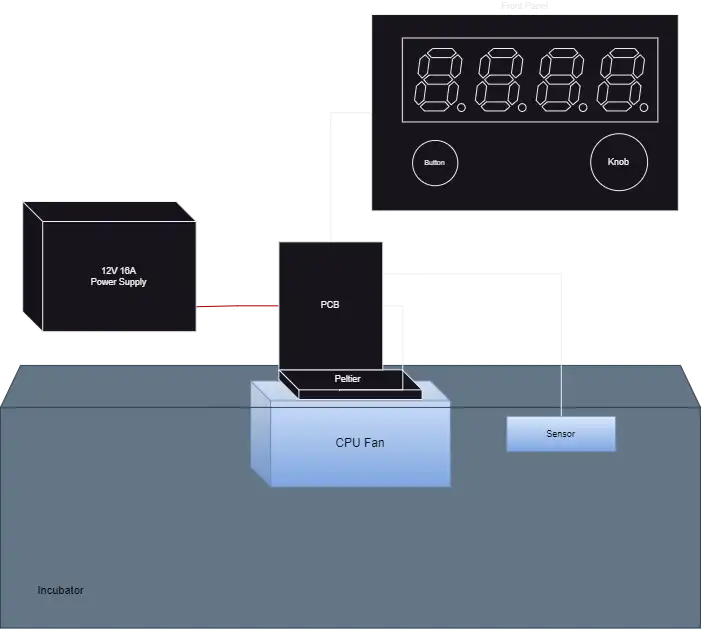
I also wanted to keep the cost low for this project, so I tried to use as many on-hand parts as I could. I had an old computer PSU, a CPU fan with an attached heatsink, and a Peltier element lying around, so I decided to use them. I would attach the Peltier element to the heatsink of the CPU fan and power everything with the PSU!
Here’s a mockup of what I thought would work.
Parts Galore!
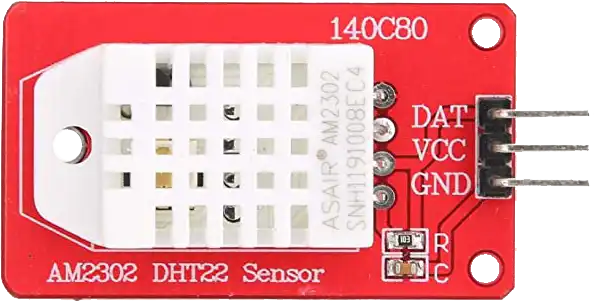
DHT22 (AM2302) Sensor
This is a nice little temperature and humidity sensor and is more than sufficient for this project. It only requires 5V and a 1kΩ pullup resistor to work properly. It also only needs one pin for data. The sensor can be read at most every 2 seconds.
Its temperature range is from -40°C to 80°C. The accuracy is ±0.5°C, the resolution is 0.1°C, and repeatability is ±0.2°C.
The relative humidity (RH) is from 0% to 100%. The accuracy is at worst ±5% RH, the resolution 0.1% RH, and repeatability ±1% RH.
The datasheet is available here (PDF)⤴ .
TM1637 Display
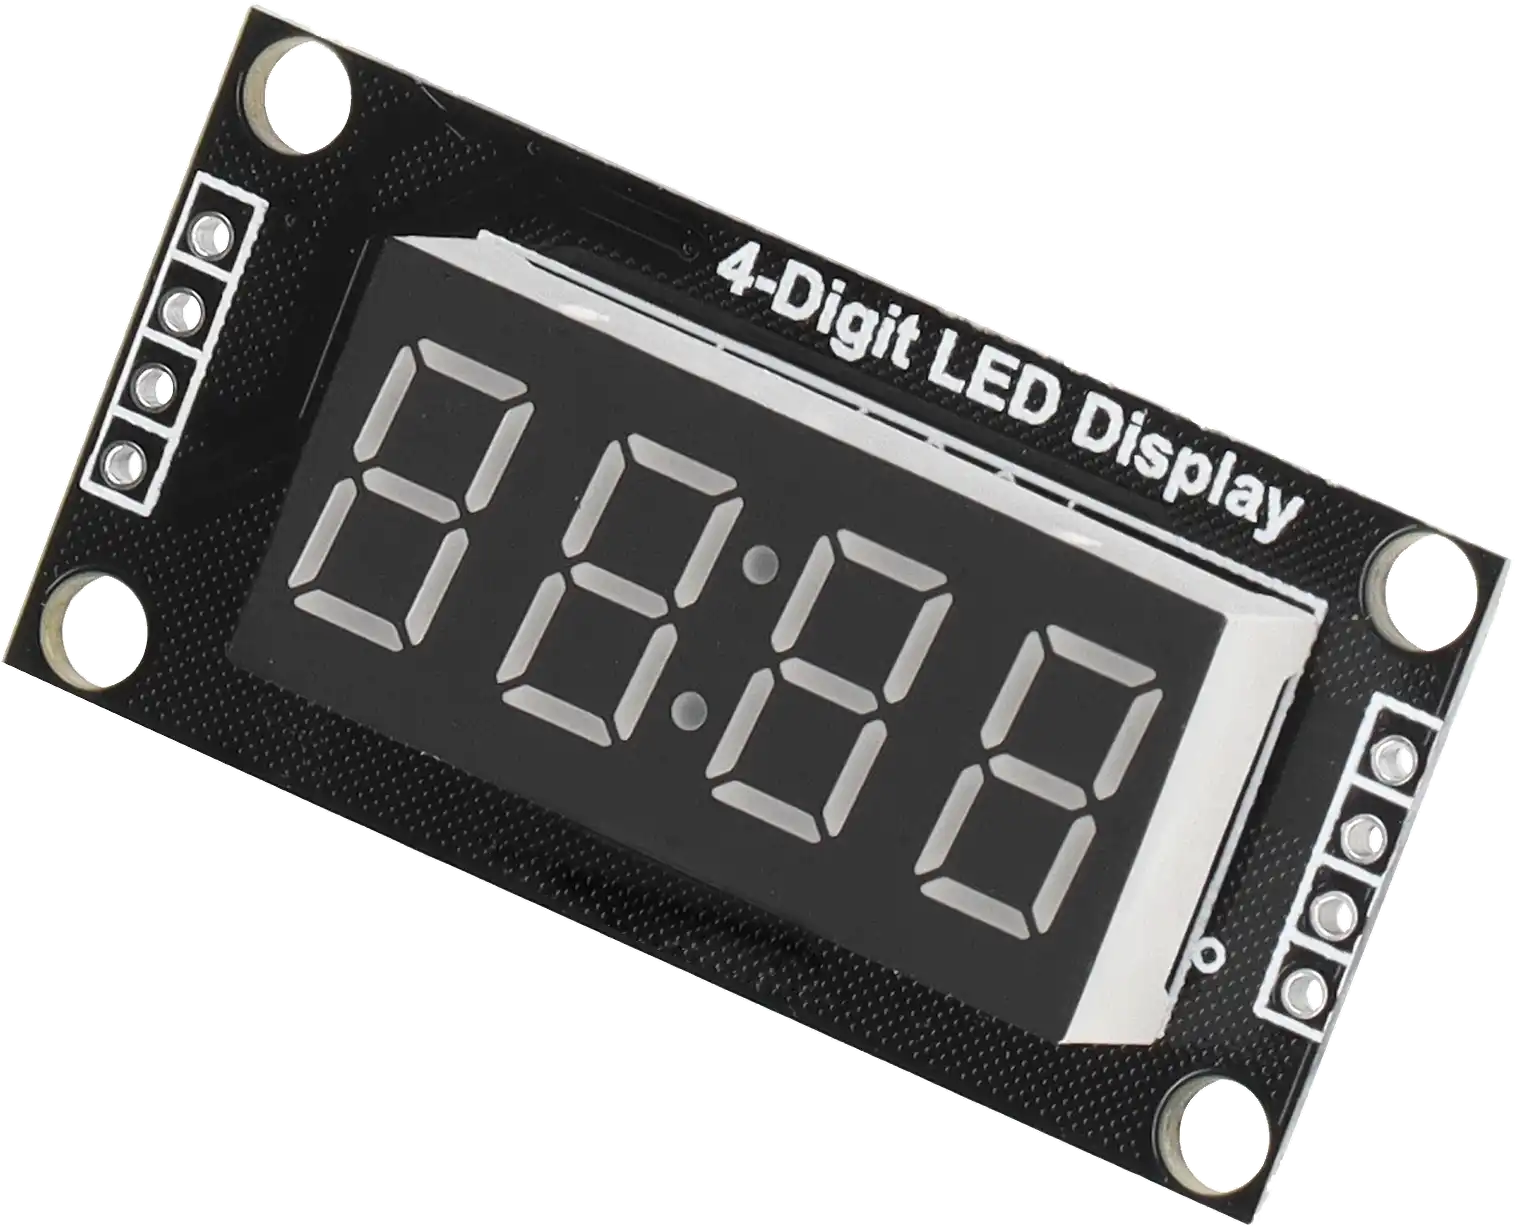
This is a 4-digit 7-segment display and only requires 2 data pins. The image on the right doesn’t show it, but it can also display decimal points as well.
I used an external library by avishorp⤴ to send data to the display.
TEC1-12709 Element
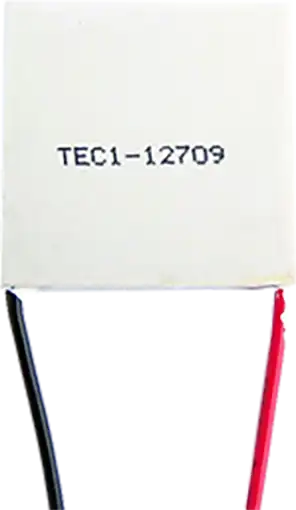
This is the main heating element. It uses up to 9A of current and can create a temperature difference of up to ~75°C (temperature difference is between the hot-side and cold-side of the element).
The datasheet is available here (PDF)⤴ .
Potentiometer
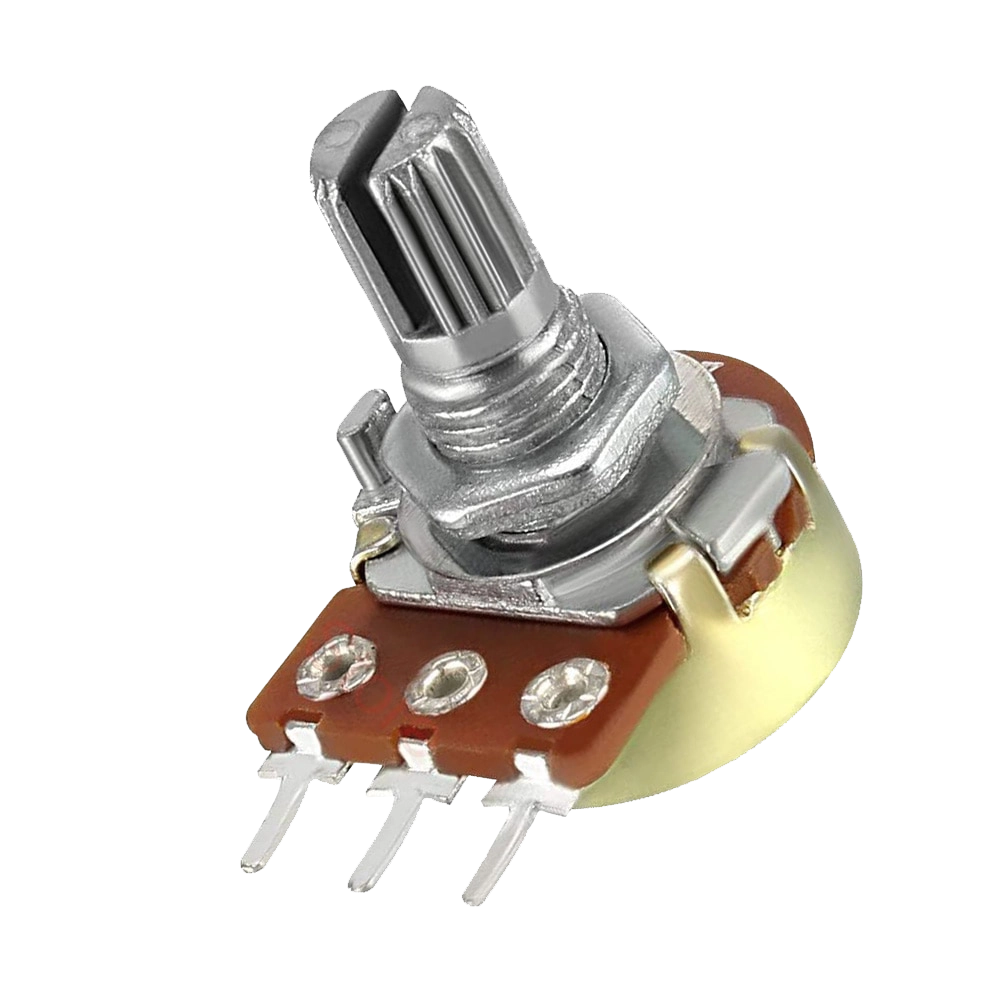
Just your standard potentiometer. This will be used to control the desired temperature of the incubator.
Push Button
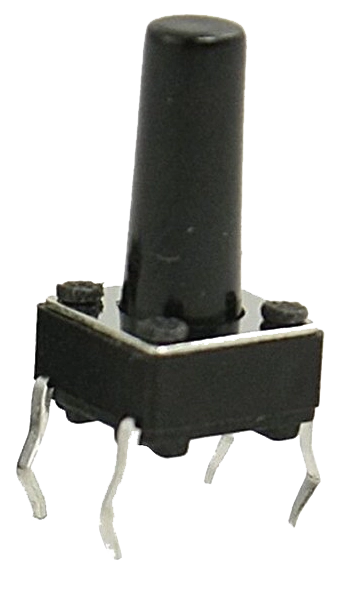
If the user wishes to set the incubator temperature, they first should press the button to switch from normal operation to a mode where they can set the temperature. After changing to the desired temperature, they can then push the button to set it and resume normal operation.
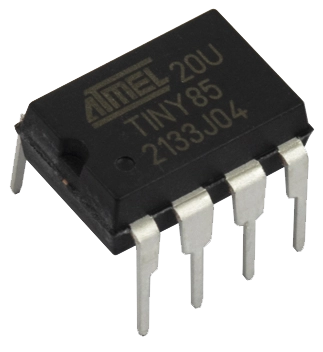
ATtiny85 MCU
I want to receive inputs from a knob, button, and sensor, which requires 3 pins. I want to send outputs to a display and heater, which also requires 3 pins. So I need a total of 6 pins.
This microcontroller fits the above requirements. I planned to have a small PCB (due to costs) and the ATtiny85 has a small footprint.
It has an internal 8MHz clock, and if the PLL is enabled it can run up to 64MHz for certain operations, such as PWM!
The datasheet is available here (PDF)⤴ .